Tips for Preparing Your Home for Interior Painting Services in Rhode Island
Preparing your home for interior painting is key to achieving a smooth and flawless finish. Whether you’re updating a living room, bedroom, or entire house, proper preparation ensures that the painting process goes smoothly and delivers high-quality results. When hiring professional painters in Rhode Island, following these essential steps can help protect your furniture, floors, and walls while setting the stage for an efficient painting job. Clear the space, handle necessary repairs, and choose the right color to ensure a hassle-free experience and an aesthetically pleasing outcome. With proper prep, your interior painting project will be quick, easy, and satisfying.
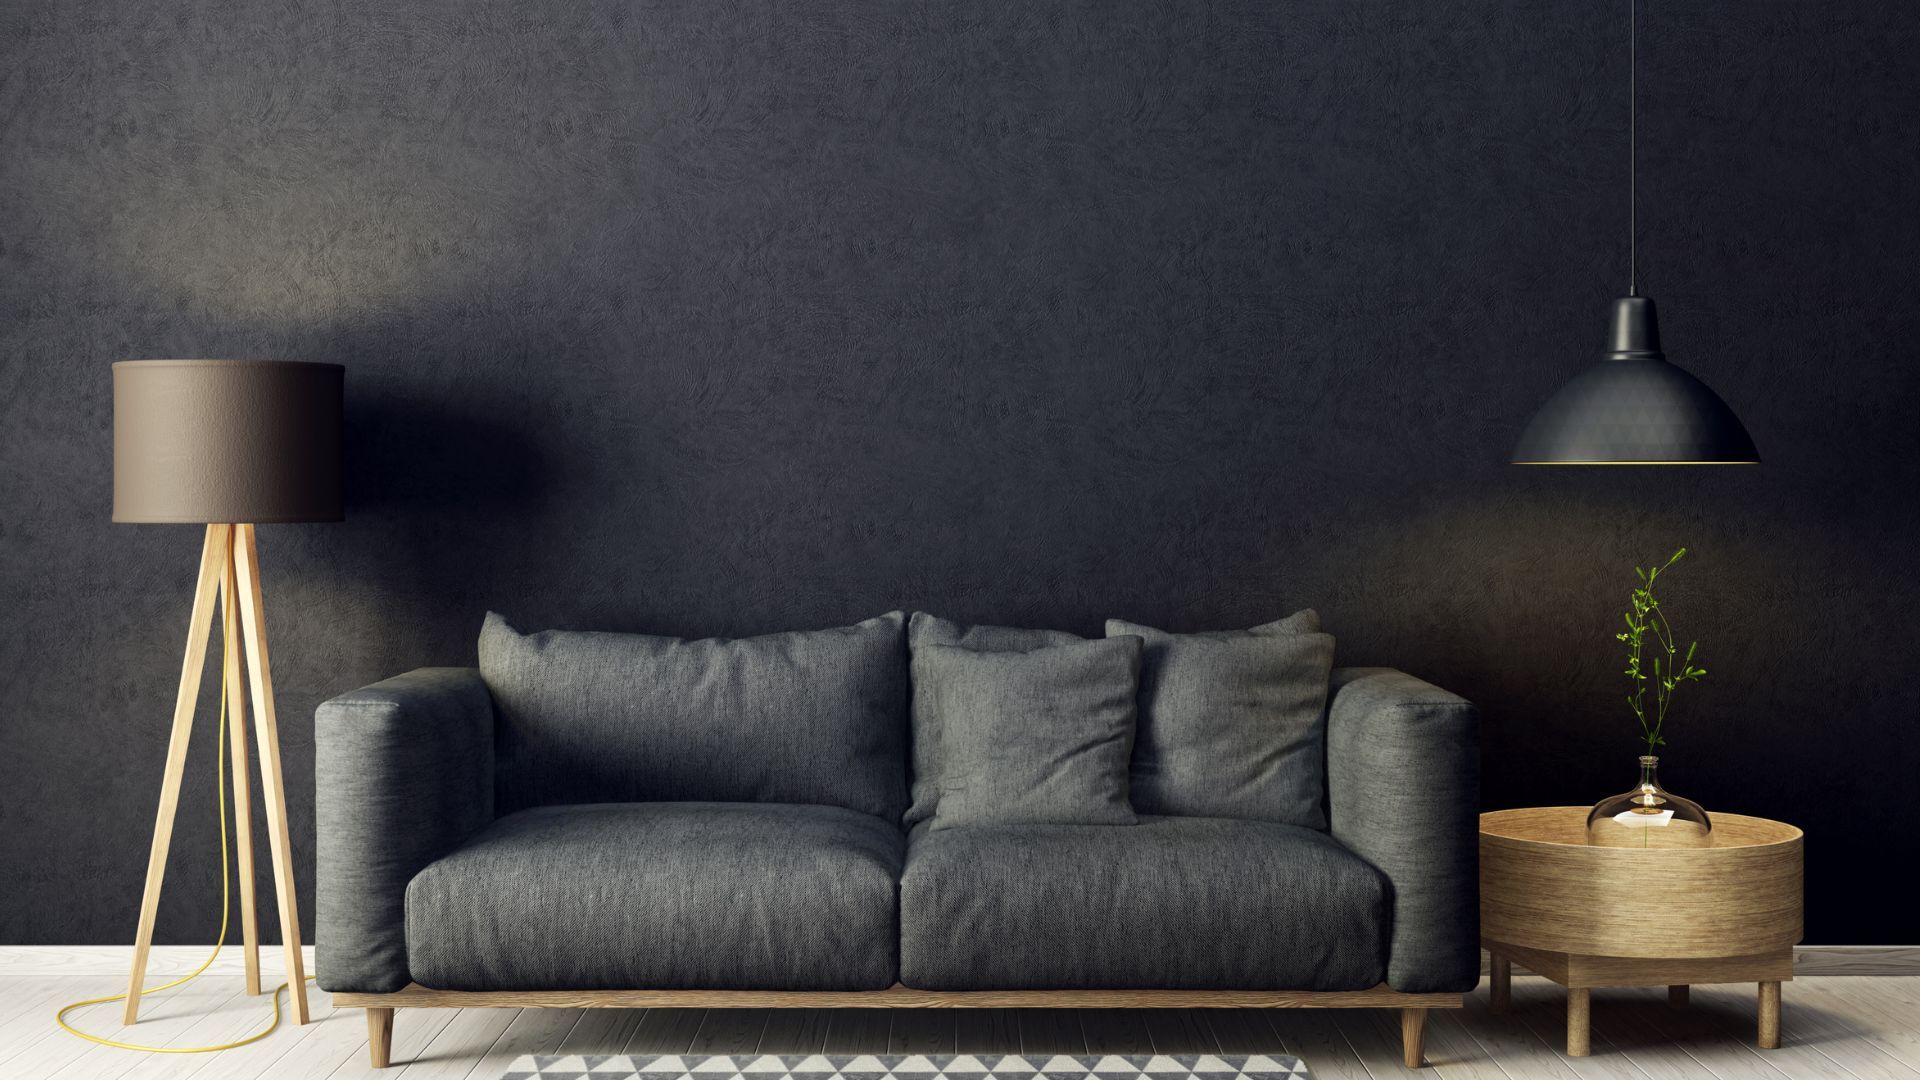
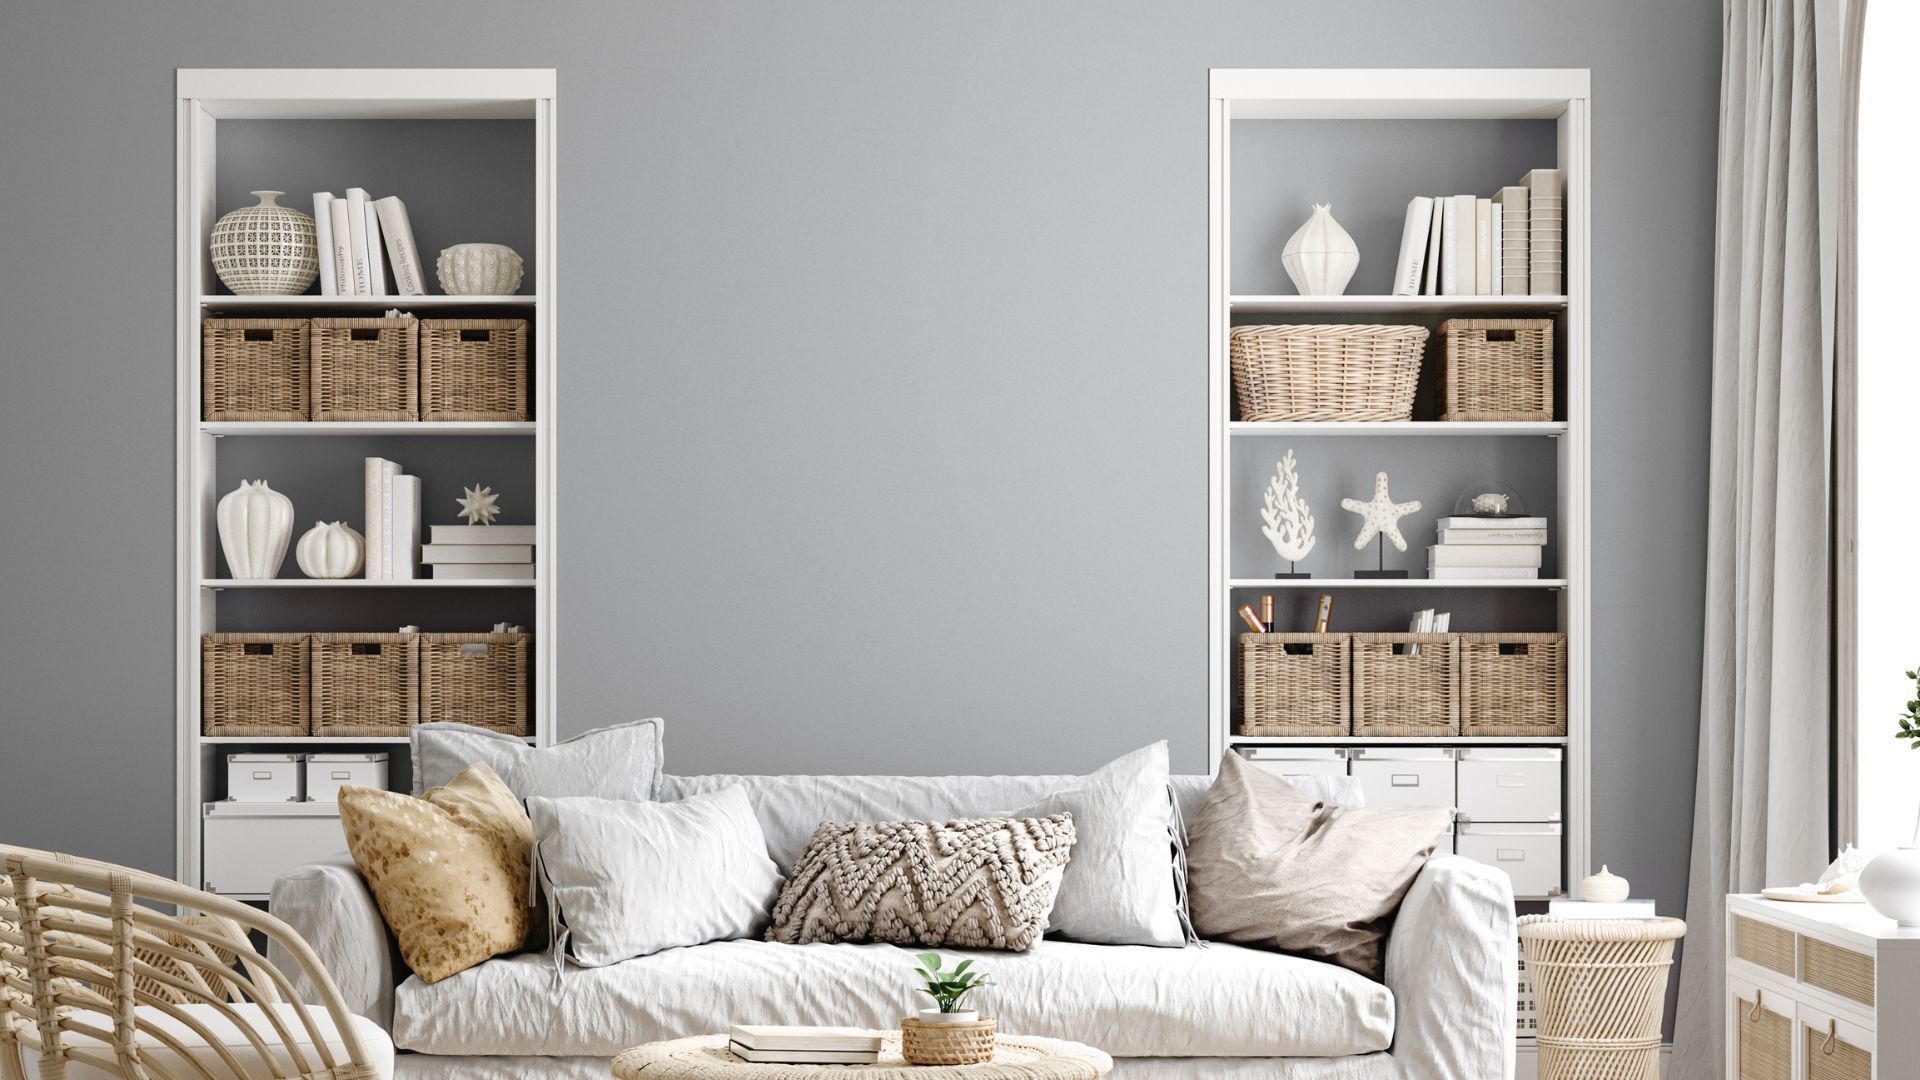
Clear and Protect Your Furniture and Floors

One of the most important steps in preparing your home for painting services is protecting your furniture and floors from any potential damage during the process. Whether you're getting residential painting services for the living room, bedroom, or entire home, taking the right precautions helps ensure that the work goes smoothly and your property stays safe. Here’s how you can prepare.
Use Drop Cloths and Plastic Sheeting
Covering furniture and floors with plastic sheeting or drop cloths is an effective way to keep paint splatters at bay. This is especially useful for larger items, such as sofas, bookshelves, or entertainment units, as well as the baseboard and crown molding that you want to keep paint-free. Make sure the cloths are large enough to catch any accidental splashes or drips from the paint brush or roller.
Temporarily Move Furniture Out of the Room
If possible, move furniture out of the room entirely to avoid any accidental spills or scratches. This also provides your house painters with more space to work efficiently, especially when applying primer or multiple coats of paint. If you can’t move the furniture, make sure to cover it thoroughly with protective material, including plastic tarps or dust sheets, to shield it from any damage.
Protect Your Floors
For floors, especially hardwood, carpet, or wood flooring, use high-quality protective coverings like plastic sheeting or painter’s tape. These will help keep your floor free from paint stains and allow for easy clean-up. For additional protection, you can use mold-resistant drop cloths, which are ideal if you are painting areas prone to moisture, such as a bathroom or kitchen.
Use Painter’s Tape for Edges and Trim
Painter's tape is an essential tool for protecting the edges of plaster, baseboard, and crown molding that you want to keep paint-free. Carefully tape along these areas to ensure a clean line and prevent paint from bleeding onto surfaces that aren’t meant to be painted. It also helps create sharp, professional-looking edges on walls and ceilings.
Consider Protective Covers for Fixtures and Hardware
For any light fixtures, doorknobs, or wall-mounted items, use protective covers or painter’s tape to keep them free of paint. If you're working with wood furniture or plaster elements, you may want to cover them in a way that shields them from potential damage or dust during the painting process. This step will help maintain your warranty for items such as furniture or appliances, as paint damage can sometimes void these agreements.
Ensure Proper Adhesion for Better Results
Before your house painters arrive, ensure surfaces like floors and furniture are free of dust and debris that could interfere with paint adhesion. Using a quick dusting or wiping down of surfaces helps ensure a smooth and durable finish. If you’re preparing wood furniture, consider sanding the surface lightly to allow better adhesion of the paint.
Communicate Your Needs with the Painting Company
If you have any specific concerns or valuable items that need extra care, be sure to communicate them with your painting company before the project begins. An experienced painting company will take the time to ensure that all areas are protected properly and can advise on the best protection methods for your particular space.
By following these steps, you ensure that your painting services go smoothly, your furniture and floors remain protected, and the final results are clean and professionally done. Whether you’re applying a fresh coat to your walls, ceiling, or even exterior painting services, protecting your home will make a big difference in achieving a flawless finish.
Handle Necessary Repairs Before Painting

Before you begin your interior painting services, it's essential to handle any necessary repairs. Fixing issues such as drywall damage, cracks, and water damage ensures that the surfaces are smooth and ready for a flawless finish. Taking the time to address these problems before the paint is applied will contribute to a more polished final result and help extend the life of your paint job.
Inspect and Repair Drywall Damage
Start by thoroughly inspecting your walls for any drywall damage. Small holes, dents, or cracks can often be repaired easily with caulk or a joint compound. For larger holes, you may need a residential painting contractor to help with proper replacement or more extensive repairs. Once the damage is filled in, smooth the area with sand paper to ensure that the repaired section blends seamlessly with the rest of the wall. This step is crucial to avoid visible imperfections once the paint is applied.
Fix Cracks and Gaps in Walls and Trim
Over time, walls can develop small cracks or gaps, particularly around windows, doors, or trim. These gaps can allow moisture to seep in and affect the adhesion of the paint. Use caulk to fill in any gaps, ensuring the walls are sealed and protected. This is especially important for areas that experience higher levels of humidity, such as kitchens or bathrooms. Filling in cracks before painting will help prevent further damage and create a smoother surface for your interior house painters to work with.
Address Water Damage
If your walls show signs of water damage, such as discoloration, peeling, or mildew, it's crucial to address the root cause before proceeding with painting. Water damage can affect the adhesion of paint, leading to peeling and bubbling over time. Repairing leaks or addressing the moisture problem is essential before painting. You can use a mold-resistant primer to prevent future issues, especially in areas prone to dampness. For significant damage, consider replacing sections of drywall or consult with a professional residential painting contractor.
Smooth and Prepare the Surface
After repairing any holes or cracks, use sandpaper to smooth out the repaired areas. This step will create an even surface for your interior painters to apply paint. A smooth surface ensures better adhesion, resulting in a more polished and long-lasting finish. Take the time to sand out any rough spots or imperfections, especially around edges or trim, for a professional look.
Get an Estimate and Plan Your Repairs
Before starting your painting project, it’s a good idea to consult with a residential painting contractor or interior painting services for an estimate. They can help assess the level of repair needed and suggest the best approach for your space. By planning ahead, you can ensure that any replacement or repairs are done well in advance, allowing the paint to go on smoothly and stay in place for years to come.
Preparing Your Interiors for a Professional Finish
By handling necessary repairs before painting, you help create a clean and smooth surface that will allow your interior painters to work efficiently and achieve the best results. Whether you’re preparing for a commercial painting project or simply refreshing your home's interiors, addressing these issues in advance will save time and effort in the long run, ensuring your new paint job looks flawless.
Taking these preparatory steps will ensure that your painting project is successful, and your newly painted surfaces will look as good as new for years to come.
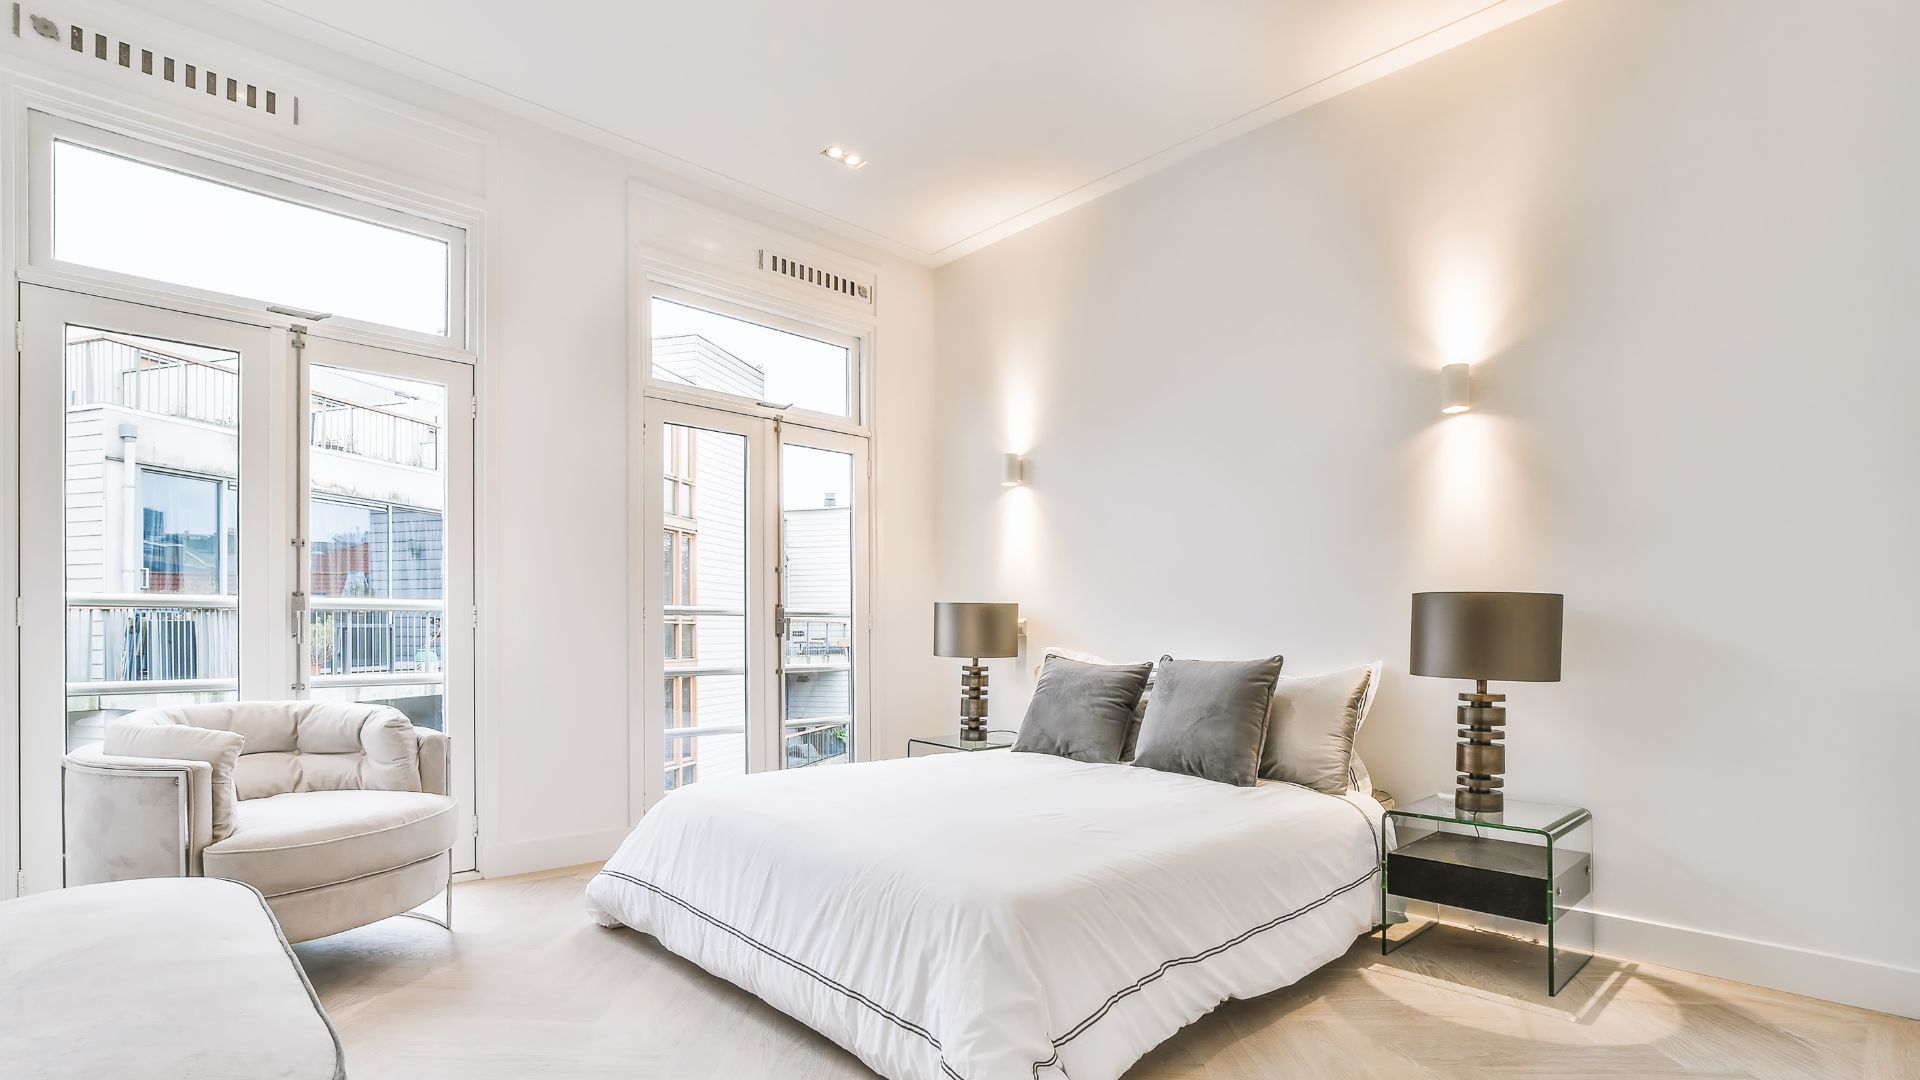
Choose the Right Color and Finish
Selecting the perfect
color and finish is one of the most important decisions when it comes to updating your space. The right choice can enhance the atmosphere of your room and complement the rest of your
interior design. Whether you’re renovating a
bedroom,
kitchen, or
bathroom, it’s crucial to factor in lighting, existing décor, and the function of the room to ensure you choose the ideal
paint color and finish.
Consider the Function and Style of the Room

Different rooms in your home serve different purposes, and the color and finish of the paint should reflect that. For example, in a
bedroom, you might prefer a soothing, neutral tone to create a calming atmosphere, while a
kitchen or
bathroom may benefit from a more vibrant or reflective color to brighten up the space. Consider the overall
interior design theme and how the
color of the walls complements other elements like furniture, flooring, and accessories.
Factor in Lighting and Room Size
Lighting plays a major role in how
paint colors appear in a room. Natural light can make colors appear lighter or cooler, while artificial lighting can shift the tone of the
paint. In smaller rooms or spaces with limited natural light, opt for lighter shades to make the space feel larger and more open. Darker colors can be more dramatic and cozy but might make smaller rooms feel even tighter. For
ceilings, lighter colors can help reflect more light, opening up the space.
Choosing the Right Finish for Durability and Appearance
When selecting a
finish, consider both the look and functionality of the paint. Matte or flat finishes are perfect for hiding imperfections on walls, while
satin or
eggshell finishes are slightly more reflective and easier to clean, making them ideal for high-traffic areas like
kitchens or
bathrooms. If you want a sleek, modern look, a
gloss finish works well on trim and moldings. For areas that require frequent cleaning, such as around windows or in
concrete spaces, consider using a more durable finish that resists stains and moisture.
Consult a Professional for Expert Advice
Choosing the right
color and finish can be overwhelming, especially when you’re dealing with a large space or specialized surfaces. Consulting with a
painting contractor or
residential painters can help guide your decision. Professionals like
Certapro painters or
Paintzen can offer personalized recommendations based on the room’s needs, your preferences, and the existing condition of your walls. A professional will also ensure the
paint is applied correctly, resulting in a longer-lasting and more polished finish.
Look for Fully Insured House Painting Services
When hiring
house painting services, it’s important to choose a
fully ensured company to protect your property. Insurance provides peace of mind in case of any accidents or damage during the painting process. You want to know that your
house painters are trustworthy and have the expertise to handle your painting project with care.
Get a Quote and Set a Budget
Before moving forward with your paint selection, ensure you have a clear understanding of the
charge for the project. Speak with your
house painters near me or
interior painters near me to get an accurate
estimate. Prices can vary depending on the room size, complexity of the job, and the
paint you choose. Setting a budget upfront will help you narrow down options and prevent any unexpected costs.
Matching Your Personal Style with Paint Choices
Ultimately, the
color and
finish should reflect your personal style and create a space that you feel comfortable in. Work with your
home painters near me to choose the right tones that fit your vision. Whether you want a warm, earthy tone or a bold pop of color, the right
paint can transform your home and make it feel more inviting.
Choosing the right
color and finish is key to achieving the look and feel you want for your home. Take time to carefully consider the atmosphere you want to create, the durability of the
paint, and the overall design. With expert guidance from experienced
residential painters and thoughtful preparation, you can achieve a beautifully painted room that enhances your space for years to come.
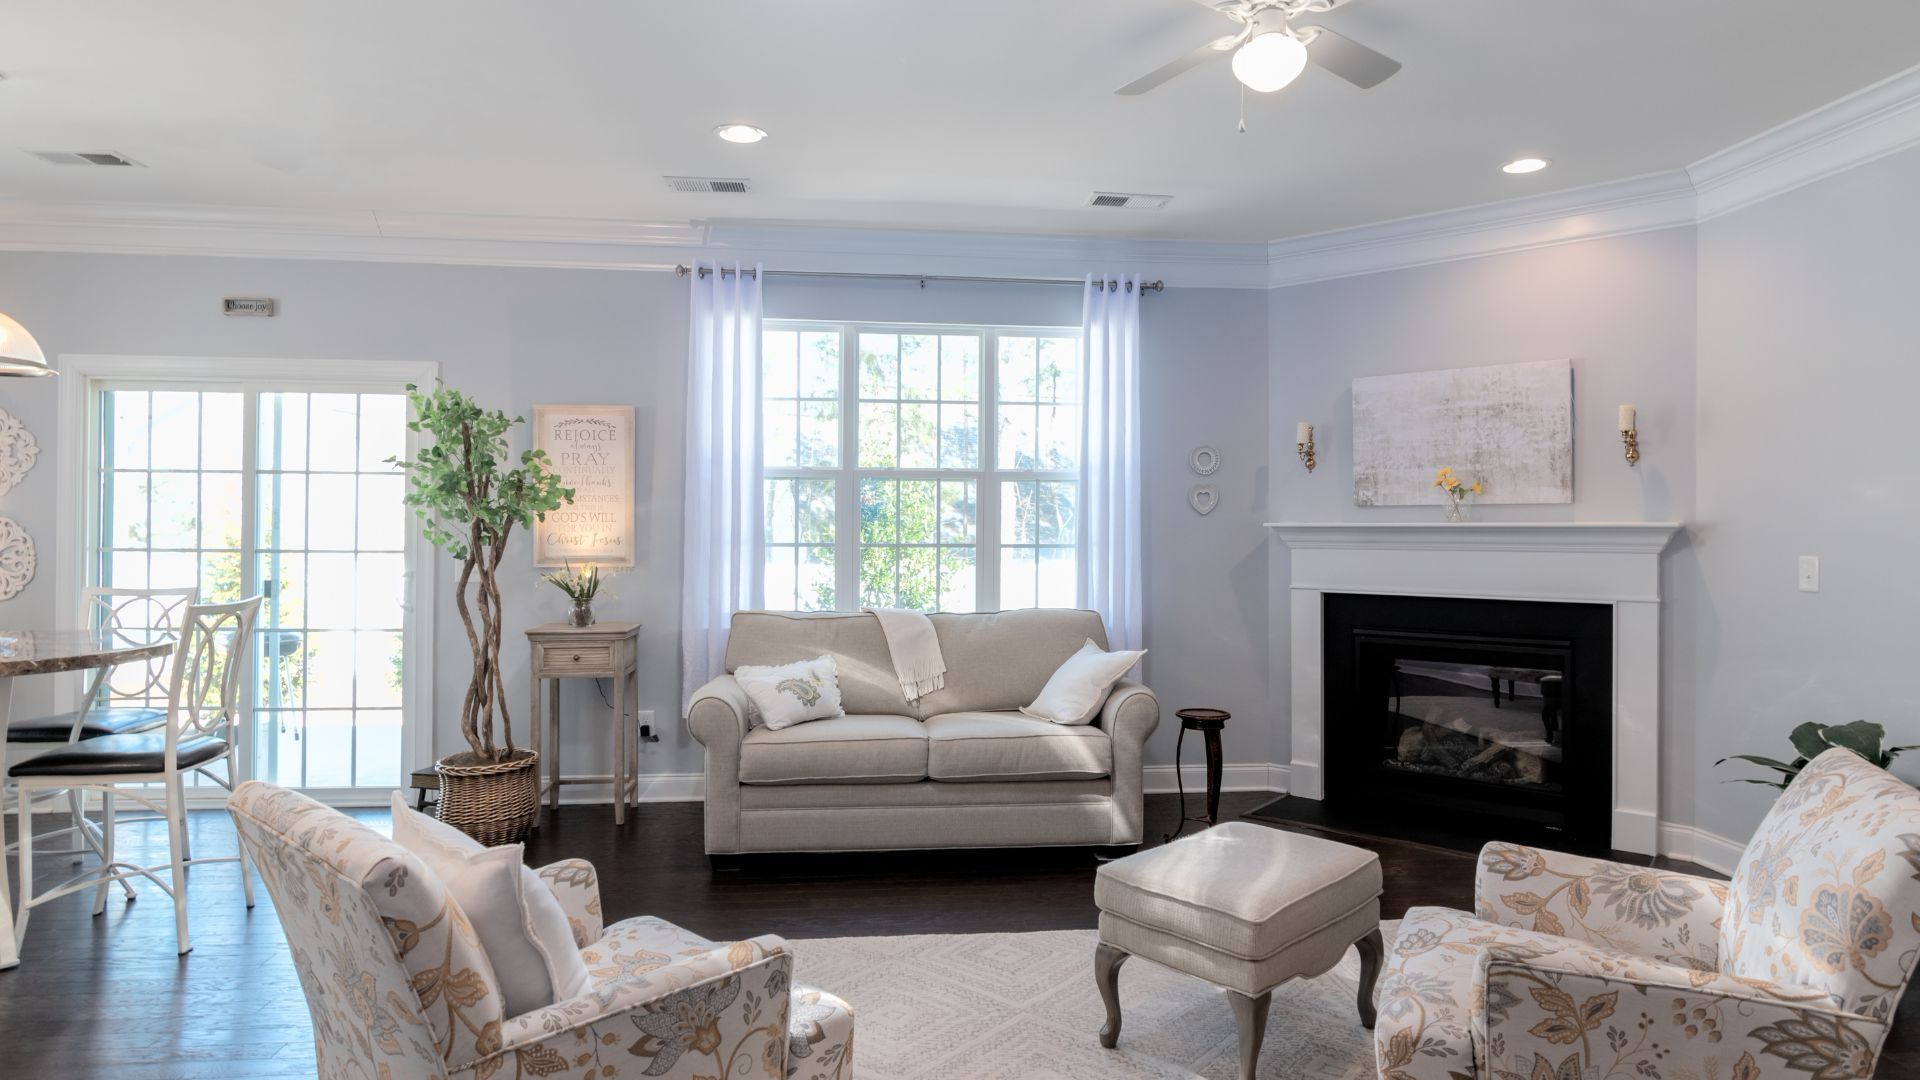
Prepare the Walls and Ceilings for Paint

Properly preparing your
walls and
ceilings before applying paint is essential to achieving a smooth and long-lasting finish. Taking the time to clean and repair surfaces ensures that your paint will adhere properly, look professional, and remain intact for years. Whether you’re updating your
dining room,
living room, or any other area, following these steps will guarantee a flawless result.
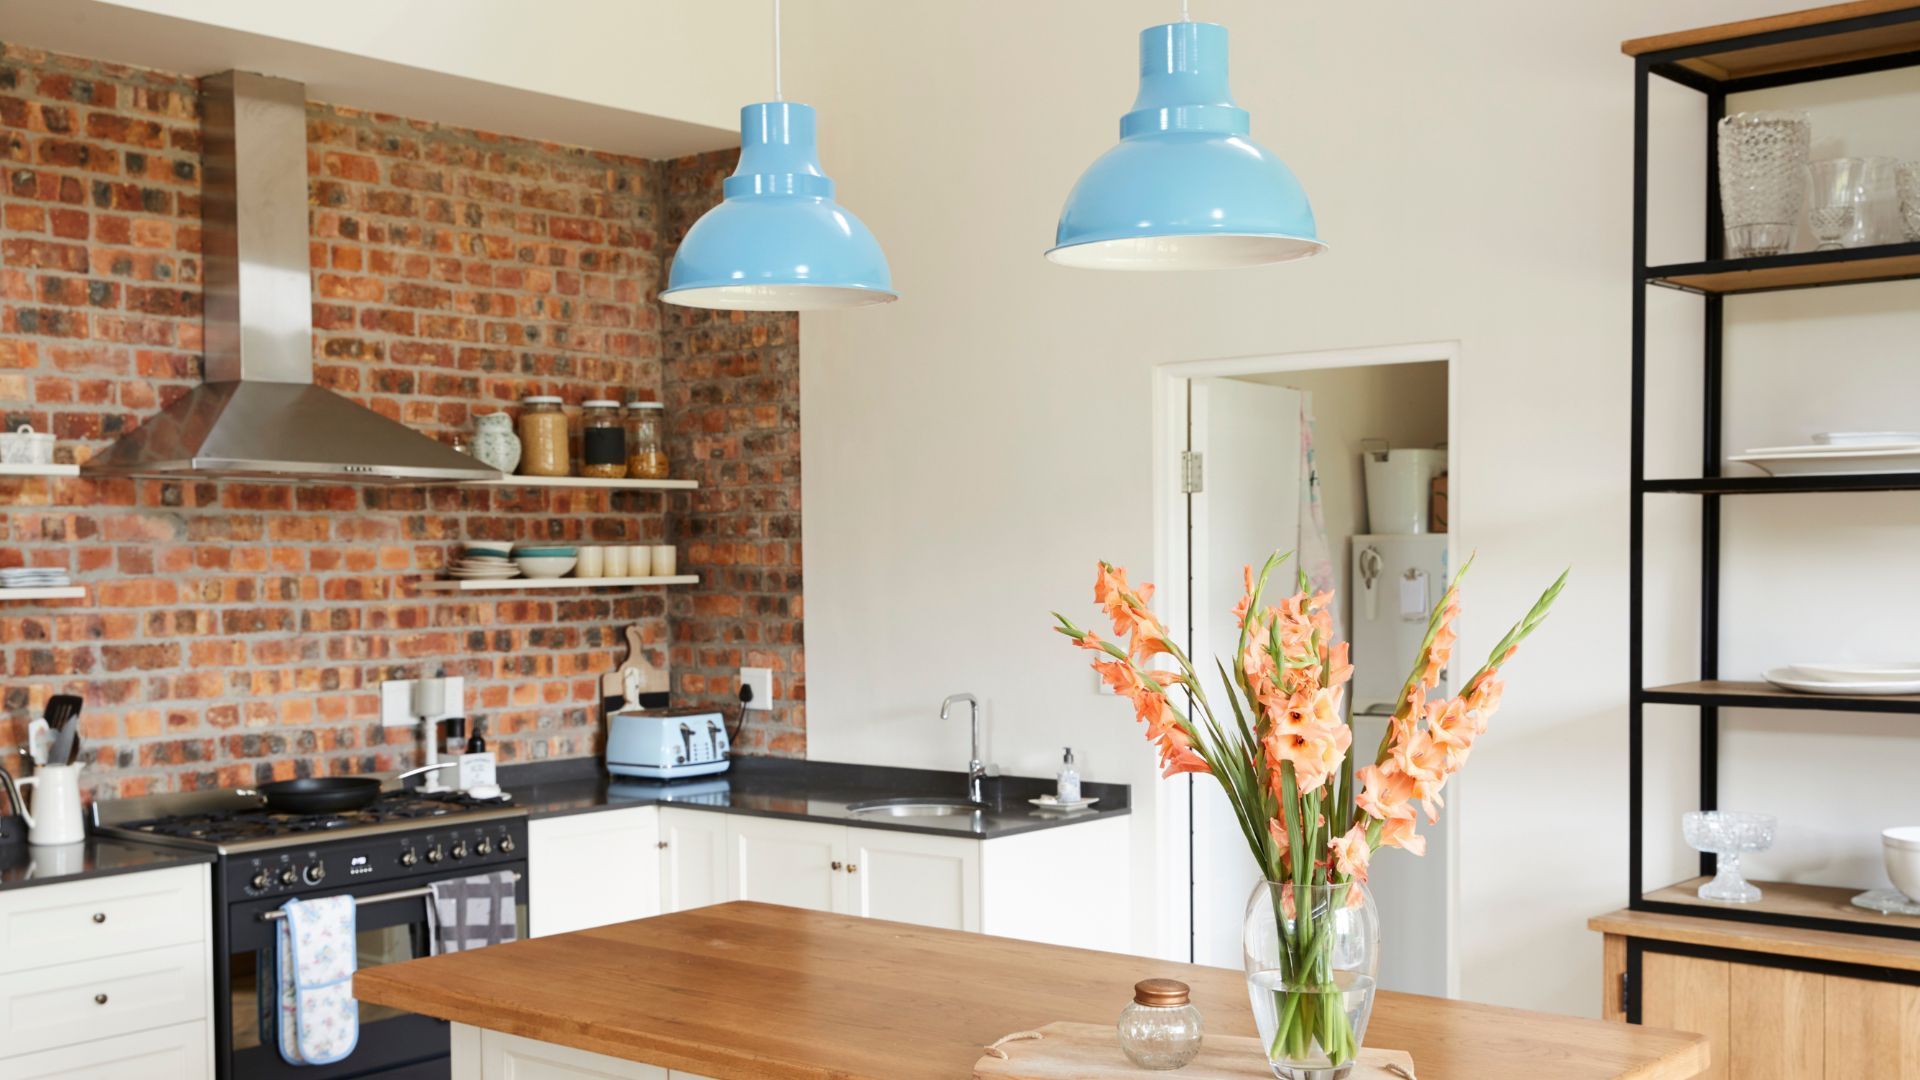
Clean the Walls and Ceilings Thoroughly
Before beginning your painting project, make sure the walls and
ceilings are free from dust, dirt, and any stains. Use a damp cloth or sponge to wipe down the surfaces. For areas like
window sills or
kitchen cabinet areas that may have accumulated grime, use a gentle cleaner to ensure the surface is free of oils, food residue, or grease. Cleaning thoroughly is key to ensuring that the
latex paint adheres properly and provides a smooth finish.
Address Peeling Paint and Rough Spots
Inspect the walls and
ceilings for any
peeling paint, cracks, or rough spots. These imperfections can prevent the paint from adhering evenly and may cause it to chip or peel in the future. If you find any peeling paint, gently scrape it away using a paint scraper or sanding tool. For rough spots, use
sandpaper to smooth out the surface, creating a more even and polished texture. This step is crucial to ensure that the paint goes on smoothly and that the finish is consistent throughout the space.
Repair Any Damaged Areas
If there are any holes, cracks, or dents in the walls or
ceilings, fill them in before painting. Use a
joint compound for larger holes or
caulk for smaller gaps. Once the filler has dried, lightly sand the area until it is smooth and level with the rest of the wall. For more significant repairs, it’s a good idea to consult with
house painters to ensure that any damage is properly addressed before applying
interior home painting.
Protect Adjacent Areas and Fixtures
Before you start painting, make sure to protect any areas that you don’t want to paint, such as
baseboards,
window trim, and furniture. Use painter’s tape to create clean lines and shield surfaces from paint splatters. If you’re working in high-traffic areas like your
dining room, consider moving furniture out of the way or covering it with plastic or cloth drop cloths. This will help ensure that your
house painters can work efficiently without worrying about damaging your belongings.
Choose the Right Tools for the Job
When it comes time to apply the paint, using the right tools is essential for a smooth and even finish. If you’re hiring
interior painters near me or
house painters in my area, they will have the right
tools to achieve the best results. For smaller areas or touch-ups, a
paint brush works well, while larger walls or ceilings benefit from a paint roller. Professional painters know when to use a
brush for precision and when a roller is more efficient for broader coverage.
Set the Right Conditions for Drying
Before applying paint, ensure that the room is at the proper temperature and humidity for optimal drying conditions. Avoid painting when it is too cold or humid, as these conditions can affect how the paint adheres and dries. Make sure the room is well-ventilated to help the
paint dry faster and avoid trapping moisture on the walls or
ceiling.
Get Expert Help When Needed
While preparing your walls and
ceilings can be a DIY task, hiring professional
interior painters ensures the job is done correctly and efficiently. If you need assistance with the prep work or have concerns about surface damage, consider consulting
interior home painters near me or
wall painters near me for expert advice and service. A skilled
house painter will have the experience and tools to handle any repairs and prepare the surfaces for painting, ensuring a flawless result every time.
Taking these steps to prepare your walls and
ceilings for paint helps create a solid foundation for your
interior house painting services. Whether you’re planning to paint a single room or your entire
house, proper preparation is key to achieving a professional finish that lasts.
Set a Realistic Budget for Your Painting Project

Setting a realistic budget for your
painting project is essential for ensuring that everything goes smoothly from start to finish. By planning ahead and factoring in all potential costs, you can avoid unexpected expenses and make informed decisions about your options. Whether you're updating a
basement, renovating a room, or giving your entire
house a fresh coat of paint, a well-thought-out budget will help you achieve your vision without breaking the bank.
Assess the Size of the Room or Space
One of the first factors to consider when setting your budget is the size of the room or
space that will be painted. Larger rooms will require more paint and additional time to complete, which will naturally increase the overall cost of the project. Make sure to measure the
walls and
ceilings and calculate the square footage to get an accurate estimate of how much
paint you’ll need. Keep in mind that
molding, trim, and windows may add to the overall area to be painted.
Factor in Extra Costs for Repairs and Preparation
Before painting can begin, you'll need to handle any necessary repairs, which could include fixing damaged walls, cracks, or
joint compound application. Additional costs may arise if your walls require repairs from water damage, mold, or other issues. You might also need to purchase a
primer to ensure proper adhesion, especially if you're switching from dark to light colors or painting over textured surfaces. Setting aside a portion of your budget for these unforeseen repairs will help ensure the work goes smoothly.
Consider Specialty Finishes and Materials
If you’re opting for specialty finishes like
metal coatings, textured walls, or a more durable
sprayer application, be prepared for additional costs. These finishes typically require higher-quality
paint or special tools and expertise to apply properly. Specialty
paint rollers or
pressure washing might also be necessary for cleaning surfaces before application, further adding to your budget.
Get Multiple Estimates from Painters
To ensure you're getting the best deal, it’s always a good idea to seek estimates from multiple
painters or
handyman services in your area. Comparing prices and services will give you a better understanding of what’s reasonable for your project. Be sure to ask for a breakdown of the estimate so you can clearly see the cost for materials, labor, and any additional services. This will allow you to make an informed decision that fits within your financial parameters. Also, verify that the painters have
liability insurance to protect your property and ensure peace of mind.
Factor in Additional Materials and Tools
Some painting projects may require additional materials such as
sandpaper,
coats of paint, or specific tools like
sprayers or
paint rollers. Be sure to factor in the cost of these materials when calculating your overall budget. If you’re working with textured walls or an intricate
construction project, this may add extra time and effort to the process, which should be reflected in your budget.
Account for Unexpected Costs
Even with careful planning, unexpected costs can arise during your
home improvement project. For example, you may encounter issues like mold, unexpected surface damage, or complications with the application of certain finishes. It’s important to set aside a contingency fund (typically 10-15% of your total budget) to cover these unforeseen expenses. By being prepared for the unexpected, you’ll ensure that your project stays on track and within your financial plan.
Keep Your Expectations Realistic
A clear and realistic budget also helps you align your expectations with the results you can achieve. Understand that opting for high-quality
paint and finishes will often cost more, but it can provide a more durable and professional outcome. It’s important to consider the long-term benefits of investing in quality materials and experienced
house painters, especially if you're planning on living in the home for many years.
By following these guidelines, you’ll be well-equipped to
set a realistic budget for your painting project. Taking into account room size, repairs, and potential extra costs will help you plan effectively, avoid surprises, and ensure that your project is completed successfully. Whether you're painting the
basement or updating a
kitchen, a well-planned budget is the key to staying on track and getting the results you want.
Schedule the Right Time for Painting Services

When planning a
painting project, choosing the right time for your services is crucial for ensuring a smooth and successful process. Timing plays a significant role in allowing your paint to settle properly, minimizing disruptions, and ensuring the work is completed on schedule. Whether you’re updating your
garage, refinishing
cabinetry, or painting a room, taking these factors into account will help you avoid conflicts with other home projects and achieve the best results.
Coordinate with Other Home Improvement Projects
If you’re also planning other
home improvement projects, such as
carpentry,
plumbing, or
cabinet painting, make sure to coordinate the timing of your painting services. You’ll want to ensure that other work, such as
stain application or
floor refinishing, is completed before painting begins. This will avoid any accidental damage or staining to freshly painted walls or surfaces. Additionally, keep in mind the drying and curing times for different types of paint. For instance, oil-based paints may require more time to dry compared to
latex paints.
Allow Sufficient Drying and Curing Time
Each type of paint requires a specific amount of time to dry and fully cure. For example, if you are using a
spray paint finish or applying multiple coats, it’s important to give each layer adequate time to dry before applying the next. Rushing this process can result in uneven coverage or an improper finish. Plan for extra time in case the paint needs additional time to settle or cure, especially in areas like the
fireplace or
kitchen cabinets that may be subject to moisture or heat.
Consider the Season and Weather Conditions
When scheduling your painting project, consider the time of year and the weather conditions, especially if you’re planning any
exterior painting. Humidity and extreme temperatures can affect how paint adheres to surfaces and how well it dries. In Rhode Island, where the weather can vary significantly throughout the year, it’s important to schedule your project during a season with mild temperatures and low humidity.
Exterior painting services are best suited for spring or fall when the conditions are favorable for optimal results.
Set Time for Proper Preparation
Before your
house painter arrives, allow time to prepare the space. This includes moving furniture, covering
paper and
flooring to protect them from paint splatters, and ensuring easy
accessibility to all areas that need painting. If you're having
cabinet painting done, be sure that all cabinetry is prepped, cleaned, and ready for refinishing. Setting aside time for prep work ensures a more efficient process and a cleaner, more professional outcome.
Avoid Scheduling During Busy Times
Scheduling your painting project during a busy time, such as a holiday season or while you're hosting guests, can cause unnecessary stress and delays. It’s best to schedule your project during a time when your home will be less active. This will allow your
painters to work efficiently and without interruptions, ultimately leading to a better-quality finish. If you need to schedule your painting services around other commitments, talk with your
painters near me to find the most convenient and effective time to begin the work.
Consider Accessibility and Customer Service
Choosing the right
time also means considering how accessible the work areas will be to your
house painter. If parts of the home need to be closed off or if certain rooms will be inaccessible for an extended period, make sure that your painter is aware ahead of time. A reputable painter will work with you to ensure minimal disruption while still delivering the quality results you expect.
Customer service plays a key role in the scheduling process, so make sure to choose a painting company that communicates clearly and is flexible with your schedule.
Plan for Clean-Up and Final Touches
After your paint has dried, it's essential to schedule time for final touch-ups and clean-up. This step ensures that your
painting services are completed to your satisfaction. You may want to plan for the painter to come back for any minor touch-ups or to ensure that everything has been cleaned thoroughly, especially in areas like
cabinetry or intricate trim work.
Align the Timing with Your Budget
Finally, ensure that your project’s timeline aligns with your budget. Some projects may require extra time for curing or specific finishes, which could lead to additional labor or material costs. Communicate with your painter about the expected timeline and confirm that it fits within your overall financial plan.
By scheduling your painting project at the right time and coordinating it with other home improvement tasks, you set the stage for a successful and hassle-free painting experience. With proper preparation, you can ensure a smooth and high-quality result, whether you are painting a single room or undertaking a larger home renovation.